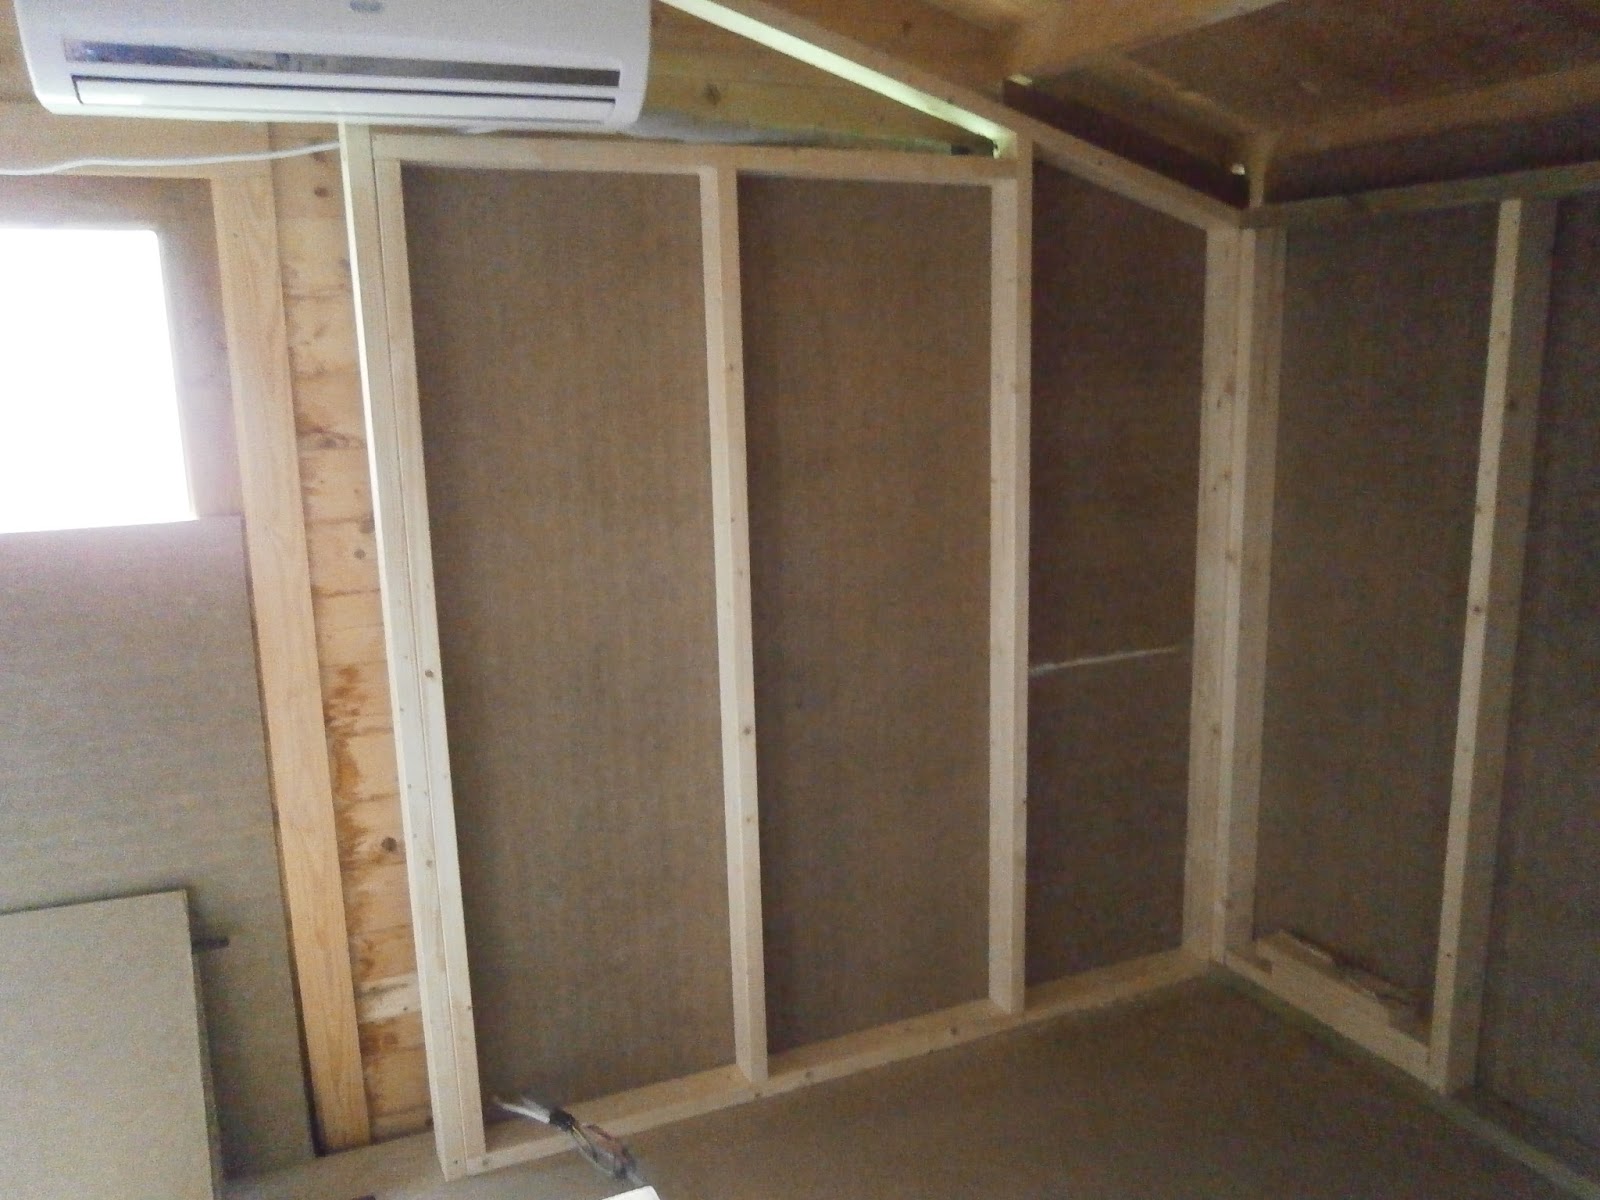
Here are a few more pictures from recent construction. The air con has been repositioned so it is now essentially internal. It is sitting on it's own chipboard as this will be mush more secure than positioning it on the plasterboard. The acoustic plasterboard will be cut around it.
I had to take the internal lights back as my dad pointed out that they would get very hot against the rockwool and may be a fire hazard. But after exchanging them, I found my new ones weren't dimmable. So after changing them again, I finally have some lights that I'm happy with.
Our new sofas for the house are being delivered on Monday (07/09), so the existing sofa will soon be in the studio. We did measure it up and have found we may have an issue with the door. We may not be able to put the sofa where we want and have an inward door. But this is a design problem, not a studio build issue. More too come on that I'm sure.
Half the ceiling has now been built, it's all starting to come together :
Well... Those horrible school canteen lights are out, plug sockets disconnected, air con moved, and two more walls are up. Also bought new plug sockets and what will be the internal lights. It's starting to take shape...
And here's the plan for the internal timber structure. Loving the sketchup program now, not bad for free...
Whilst building this, the outside panels will also need to go up. To save on weight (and money), the outside panel will be from basic hardboard. It's only 3mm but should be able to keep the rockwool in place which will be inbetween the timber joists. Construction starts this week!
Well... my builder (my Dad) has been busy. The floor is complete, and built pretty close to the plan. Here's a few pics. The next phase will be working out how many timber joists are needed for the stud walls and putting the shell together.
So the time has come to stop designing and start building! First off, the floor. It's going to be a standard stud type floor, with the timber battens lined with some resilient floor tape. The floor will be 40mm away from the main wall. At the corners of the structure will be extended battens that will ensure the structure does not move when complete. The battens will be separated by 400mm and then 22mm floorboards will be laid on the top. Rockwool RWA45 will be laid in between the battens. I've opted for the 100mm option for maximum sound absorption. I'm in the process of ordering 20 packs of Rockwool from CCF. Best price I have found and free delivery over £200. I'm also getting the floor tape from Custom Audio Designs. They're really good at giving advice, and their website has loads of very useful information. Gonna get some acoustic sealant from them too, stuff that is similar to Green Glue.
So here's how the floor should be looking when done :
Hopefully the next post will be the build :)
Genie Clips
More Genie Clips
So I started putting together a sketchup to map out the construction of the walls, more specifically to see how many genie clips and "furring bars" will be needed for my studio build. And I came up with this :
Yellow bars are wood between the two plasterboard layers, the red lines are furring bars, and the red circles will be the genie clips. So, in total :
Genieclips
- Side walls 2 x 18
- End Walls 2 x 16
Genieclip furring bars
- Side Walls 2 x 8 (1850mm)
- End Walls 2 x 4 (1850 mm)
- End Walls 2 x 4 (1200mm)
That's gonna cost a bit! Well, £371 in total. And that's a massive amount of my budget. In fact, nearly all of it. And I still have to have money for the acoustic plasterboard, rockwool, and a new desk.
And then I stumbled over this great post on gearslutz : https://www.gearslutz.com/board/studio-building-acoustics/466758-genie-clips-double-wall-stud-construction-no-longer-needed-anyone-tried-them.html
Specifically :
"there is no advantage to using the clips when building a "room within a room" - in fact it is a complete waste of money - and will most probably lower the TL vale of the wall in the lower frequency range.
One thing it will NOT do is give you any real bonus at any frequency.....
Look at it in this respect - you are trying to get a boost by decoupling something that is already decoupled.
The advantage to these clip systems is when you are forced into a single wall build - at which time they will decouple one wall face from the frame....."
So as I'm building a room within a room, I'm trying to decouple something that's already decoupled. Genieclips are not for me. Thank feck for that :)